

Cyllo First-time setup Documentation
Introduction
First-Time Setup After installation, opening Cyllo in a browser for the first time initiates a guided setup sequence. This sequence creates the initial database, installs the selected modules, configures the company, and creates the first user accounts. The entire process takes approximately 10 to 20 minutes depending on the number of modules selected.
1. Accessing Cyllo for the First Time
Open a web browser and navigate to the Cyllo instance URL. For a self-hosted installation this is either http:// your-server-ip:8069 (before Nginx setup) or http:// yourdomain.com (after Nginx and SSL are configured). For a cloud instance, use the URL provided by the Cyllo team.
On first access, Cyllo presents the Database Creation screen — the first step of the setup sequence.
2. Database Creation Screen
The Database Creation screen is where the first Cyllo database is created. This database will hold all business data — contacts, sales orders, invoices, inventory, and everything else. Each Cyllo instance can manage multiple databases, but typically one database per company is used.
- On the database creation screen, the Master Password field appears. Enter the admin_passwd value set in cyllo.conf during Step 10 of the installation. This password authorises database operations.
- Enter a Database Name — a short, lowercase identifier with no spaces (e.g. mycompany, acmecorp_erp). This is used internally and is not visible to end users.
- Select the Language — the default interface language for all users on this database.
- Select the Country — sets the default localisation, currency, and tax configuration for the company.
- Enter an Email address — this becomes the administrator user's login email.
- Enter a Password for the administrator user. This is the login password for the first user account — different from the master password.
- Leave the Demo Data checkbox unticked for a production deployment. Enable it only for evaluation or training environments to populate the database with sample records.
- Click Create Database. Cyllo creates the database, runs the initial data setup, and automatically logs in as the administrator user.
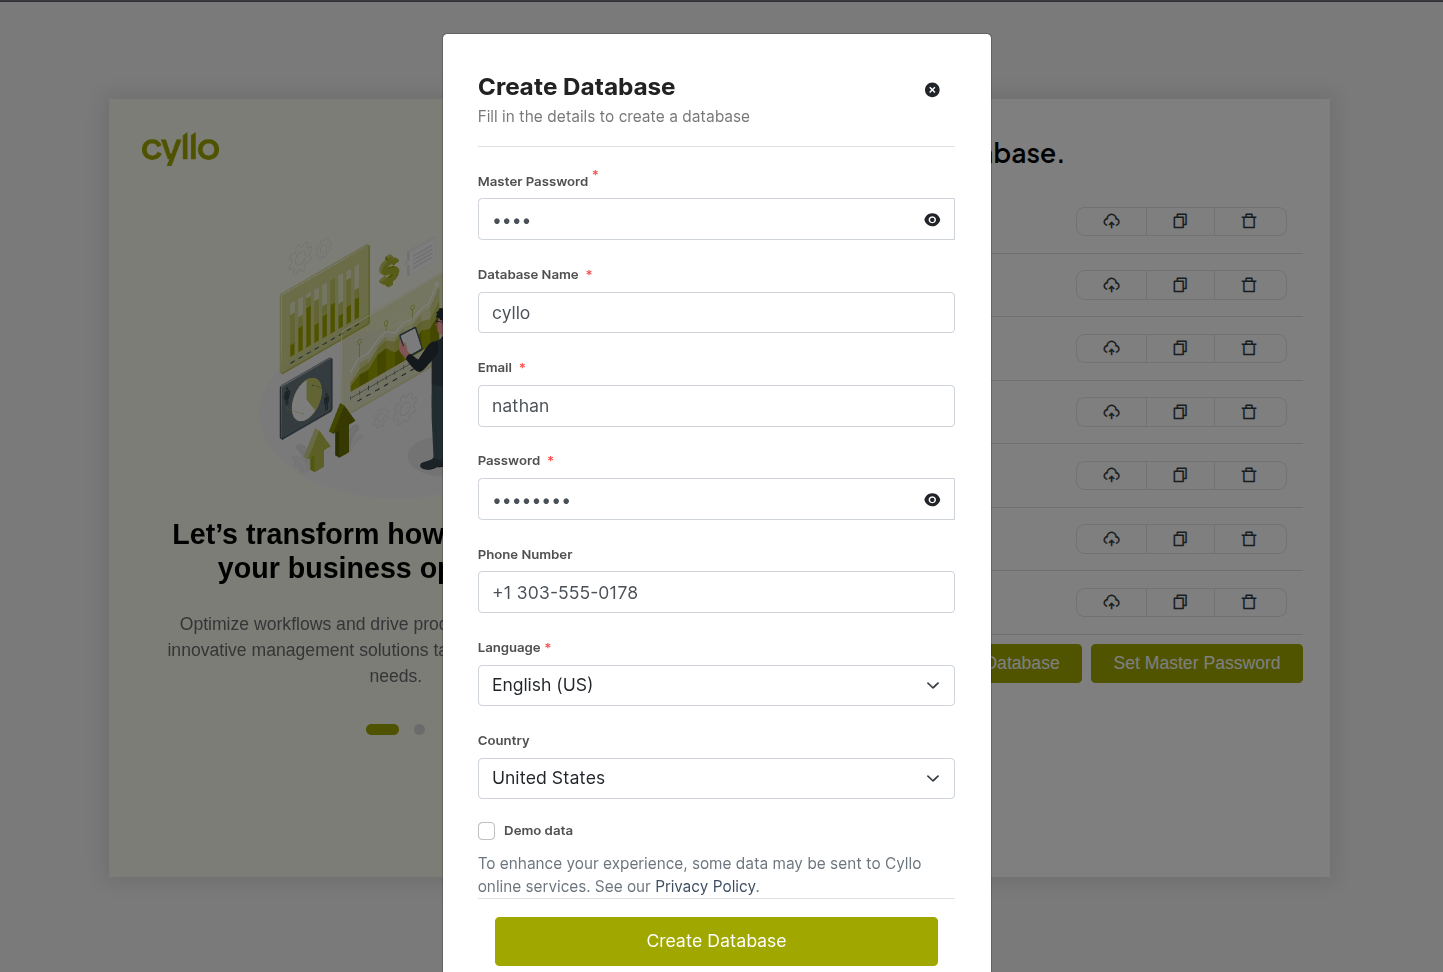
Fig 1 — Database creation screen — Master Password, Database Name, Language (English), Country (USA), Email, Password fields; Demo Data checkbox unticked; Create Database button
WARNING
Do not tick the Demo Data checkbox on a production database. Demo data creates hundreds of sample contacts, orders, and invoices that cannot be easily removed after the fact. Always leave it unticked for any database that will hold real business data.
3. Mass App Installer
After the database is created and the initial login is complete, Cyllo opens the Mass App Installer screen. This is where the administrator selects which Cyllo modules to install for this deployment. Only modules selected here are installed — the database starts clean with only the modules the business actually needs.
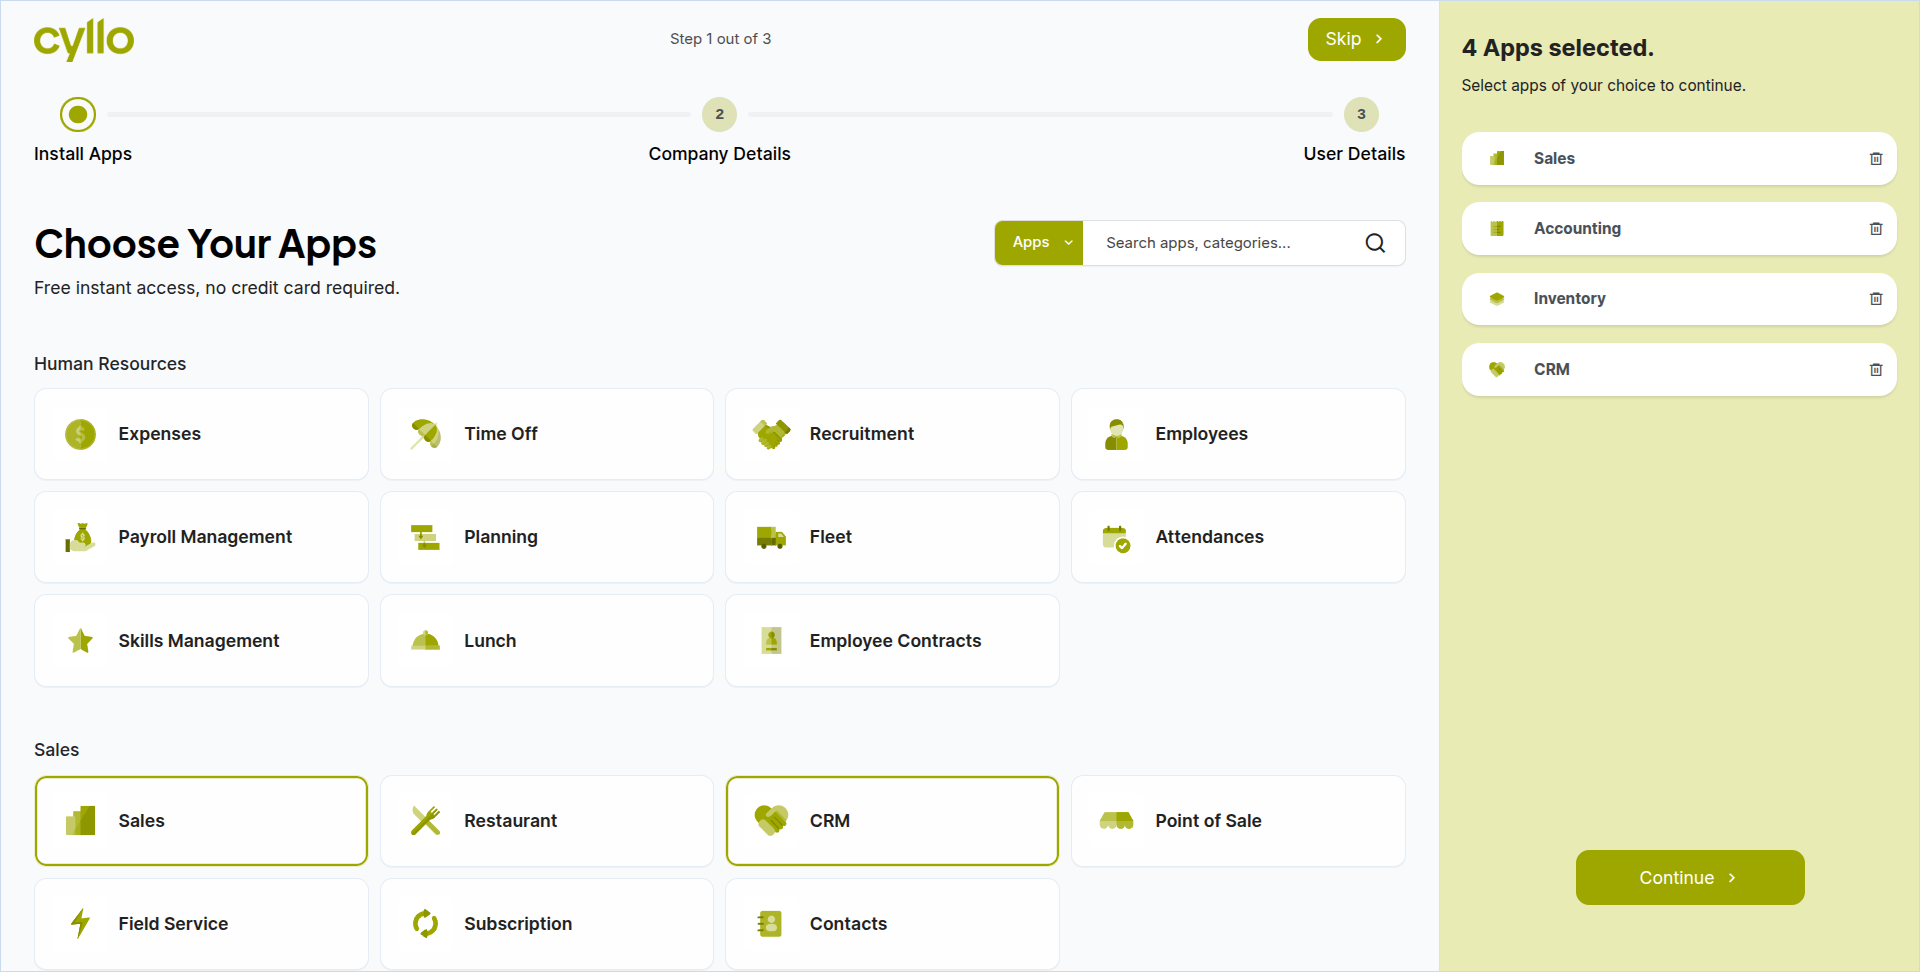
Fig 2 — Mass App Installer screen — grid of Cyllo module icons (Sales, CRM, Inventory, Accounting) with checkboxes; Install button at the bottom
- The Mass App Installer displays all available Cyllo modules as icon tiles organised by category.
- Click the icon of each module the business requires to select it. Commonly selected modules for most businesses include: Sales, CRM, Inventory, Accounting, Purchase, and Employees.
- Once all required modules are selected, click Install.
- Cyllo installs the selected modules. This process typically takes 2 to 5 minutes. A progress indicator is shown during installation.
- After installation completes, Cyllo proceeds automatically to the Company Setup screen.
TIP
Install only the modules the business will actively use from day one. Additional modules can be installed at any time from the Settings → Apps menu — there is no need to install everything upfront. A leaner initial installation results in a faster, less cluttered interface for new users.
4. Company Setup
The Company Setup screen collects the organisation's core information. This data appears on all documents generated by Cyllo — invoices, purchase orders, delivery notes, quotations, and reports. Getting this right during setup saves editing individual documents later.
- Enter the Company Name — the full legal name of the business as it should appear on documents.
- Upload the Company Logo — click the logo placeholder and upload an image file (PNG or JPG, recommended size 200×200 pixels or larger). The logo appears in the top-left corner of the Cyllo interface and on all printed documents.
- Enter the company Address, Phone, Email, and Website.
- Set the Currency — the base currency for all accounting, invoicing, and reporting. This cannot be changed after transactions are recorded, so select it carefully.
- Enter the Tax ID or VAT Registration Number if applicable — printed on invoices for tax compliance.
- Click Save (or Continue) to proceed.
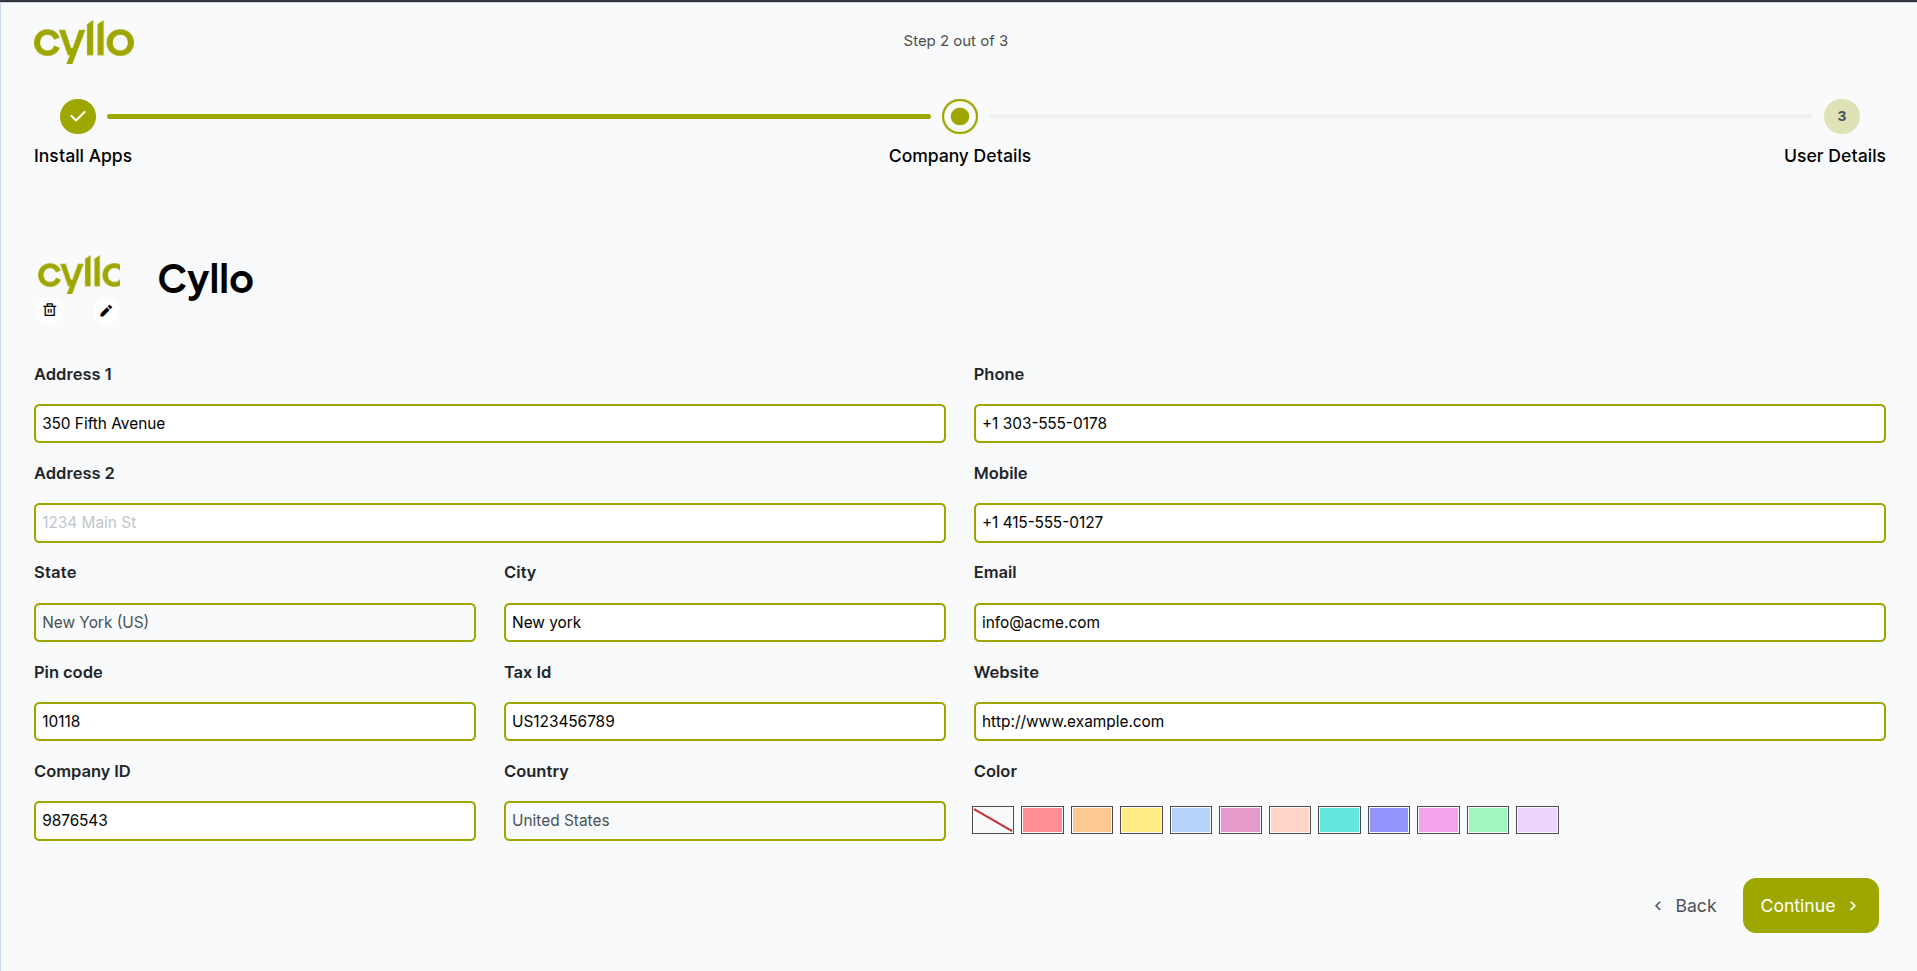
Fig 3 — Company setup screen — Company Name, Logo upload, Address, Phone, Email, Website, Currency, and Tax Number fields
Note
The Currency set during company setup becomes the company's base currency in the Accounting module. Multi-currency transactions are supported, but all reports and the balance sheet use this base currency. Set it to the company's primary operating currency.
5. User Setup
After company setup, Cyllo prompts for the creation of additional users. The administrator account created during database setup is the system owner — operational users (sales staff, accountants, warehouse managers) should have their own individual user accounts with appropriate role assignments.
- On the user setup screen, enter the Name, Email, and Role for each additional user.
- Assign the appropriate user role — roles determine which modules and actions each user can access:
| Common Role | Typical Access |
|---|---|
| Administrator | Full access to all modules, settings, and configuration. |
| Sales Manager | Full access to the Sales and CRM modules; view access to Inventory. |
| Sales User | Create and manage your own sales orders and CRM leads. |
| Accounting Manager | Full access to the Accounting module including settings and reports. |
| Accounting User | Create invoices and bills; view reports; cannot access settings. |
| Inventory Manager | Full warehouse operations access including configuration. |
| Inventory User | Process receipts, deliveries, and transfers; view stock. |
- Click Save to create the accounts. Each user receives an email invitation with a link to set their own password.
- After the user setup step is complete, Cyllo opens the main dashboard — the system is now ready for use.
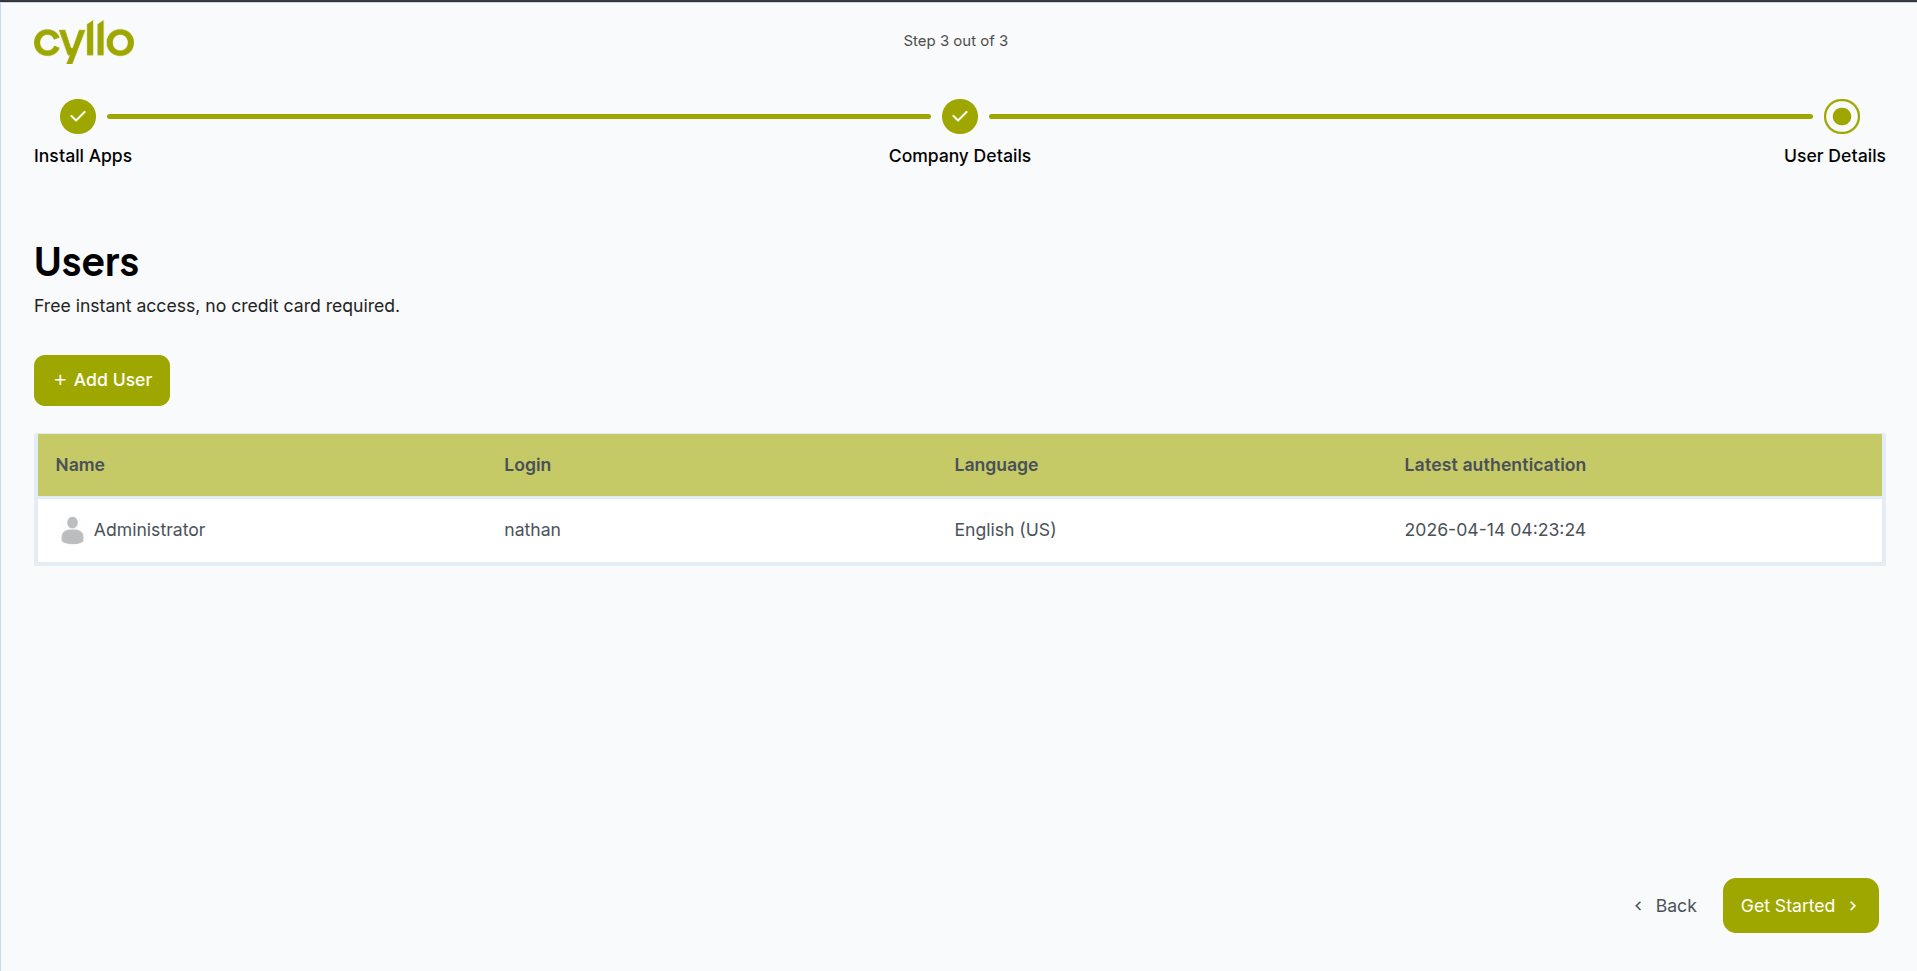
Fig 4 — User setup screen — table with Name, Login, and Auth columns for adding multiple users; Add User button; Get Started button at the bottom
Note
User roles can be adjusted at any time after initial setup from Settings → Users & Companies → Users. It is common to refine role assignments during the first weeks of deployment as the team's actual usage patterns become clear.
Cyllo will redirect to the user dashboard where the admin can see Login Details, Upcoming Activities, Memory etc and modify Language, Timezone, Permissions, Password etc..
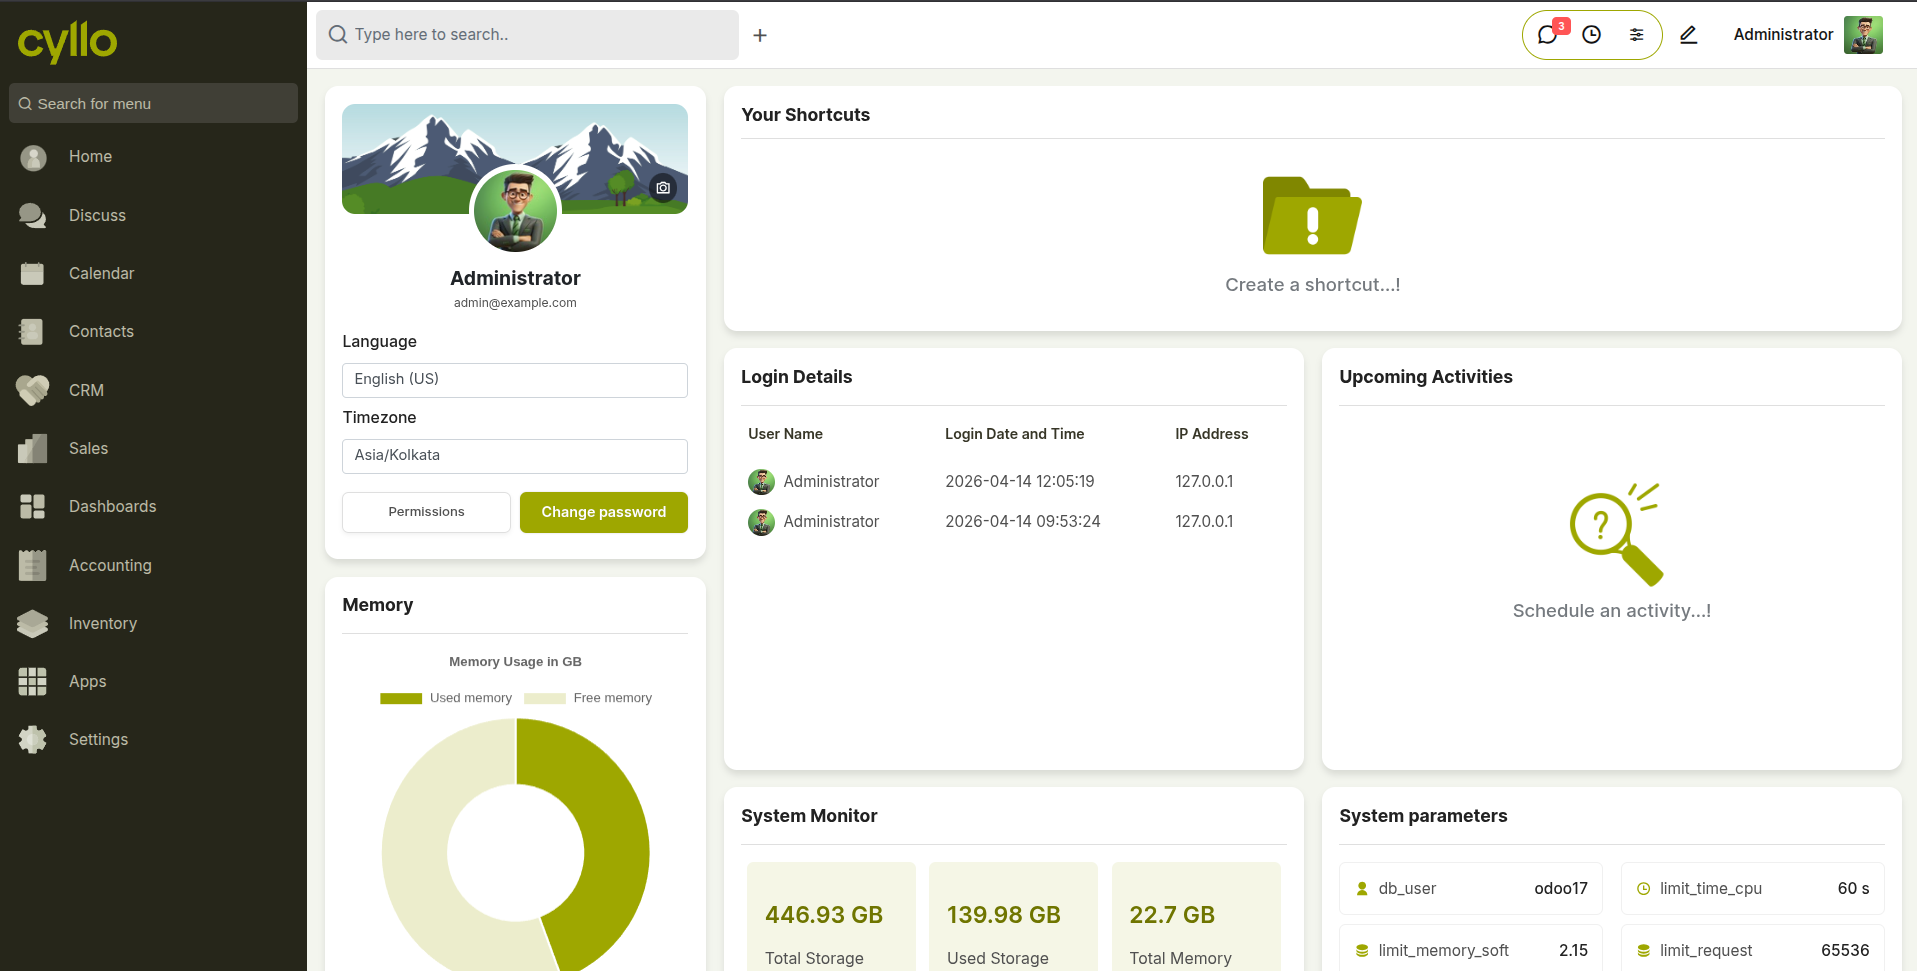
Fig 5 — User dashboard and menu items of apps installed at step 3